A quick post talking about how to backup and restore a SQL database on Azure using SQL Server Management Studio (SSMS).
First, you will need to install SSMS. You can download it here: https://go.microsoft.com/fwlink/?linkid=875802
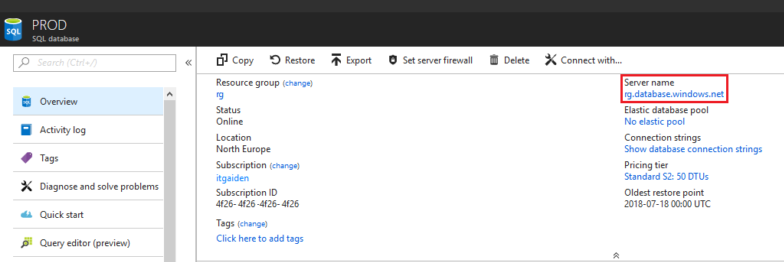
Once installed, in order to access the database, you will need the server name where is installed. So, you will have to check the Server name in Azure Portal (you can also do it by Powershell of course):
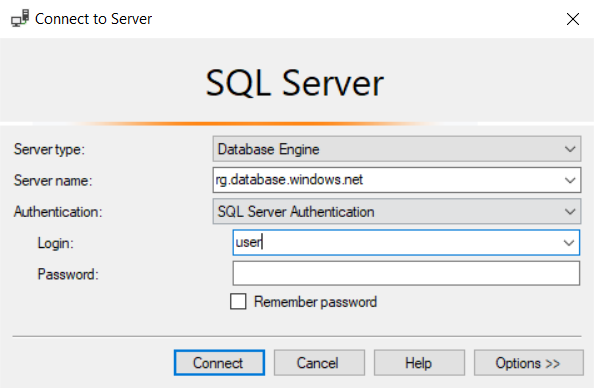
Now, open SSMS and access the server name (you gathered the information before):
Export/Backup Database
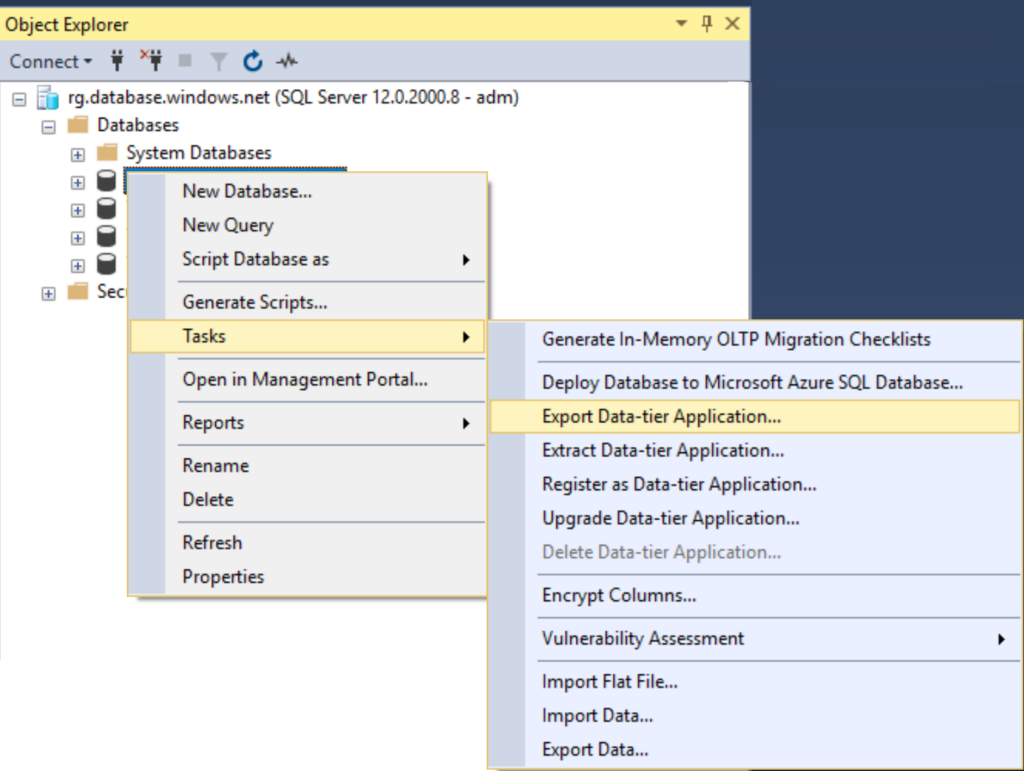
Once you logged in, select the database you want to export -> Export Data-tier Application
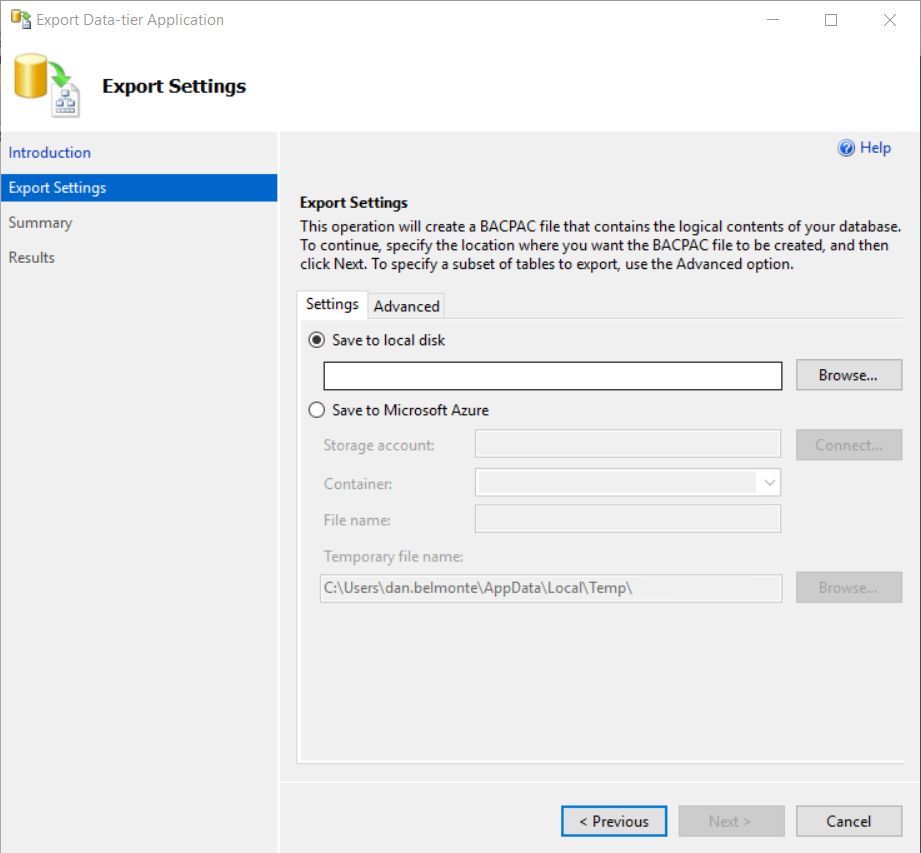
In the new window > Next > Select where do you want to save the DB (you can do it locally or in a Storage Account), in our case Local Disk:
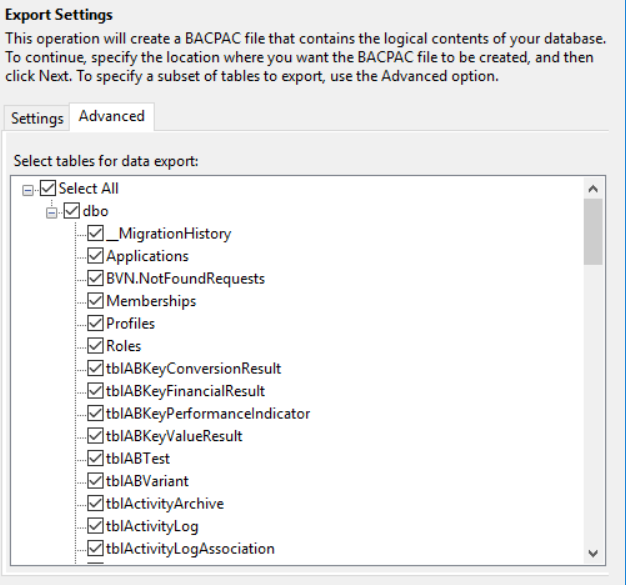
In the Advanced tab you can choose which tables you want to export, we will Select All:
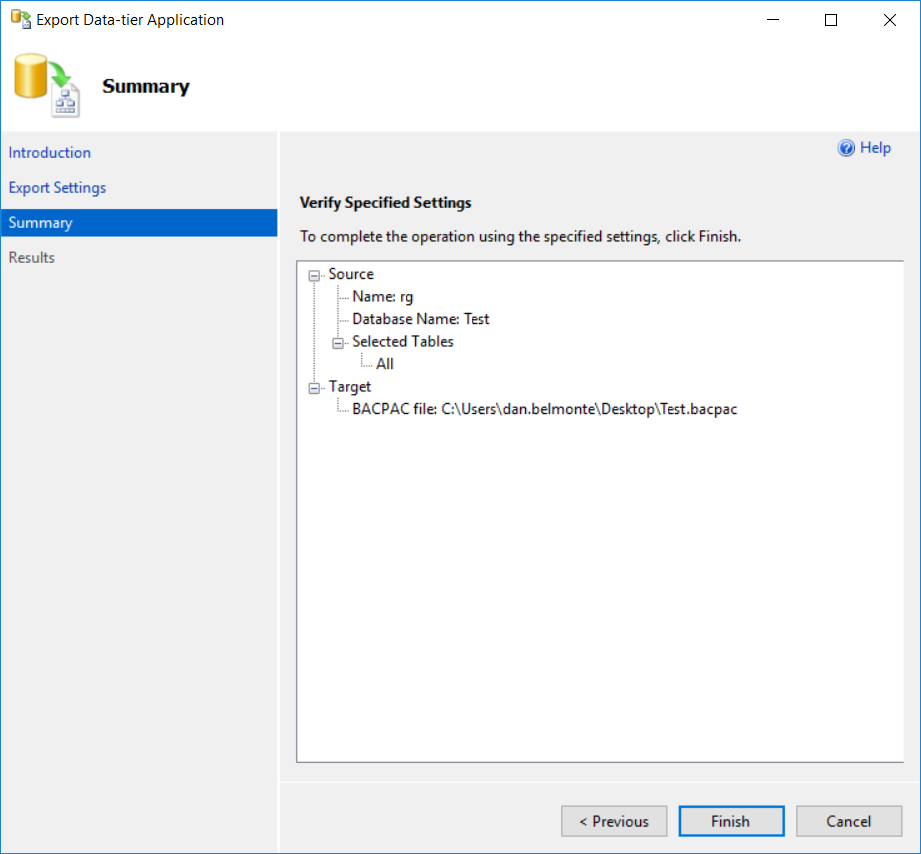
Finally, we have a Summary of the process before exporting the database:
Then it will start to export the database, depending on the size of your DB will take more or less time to export:
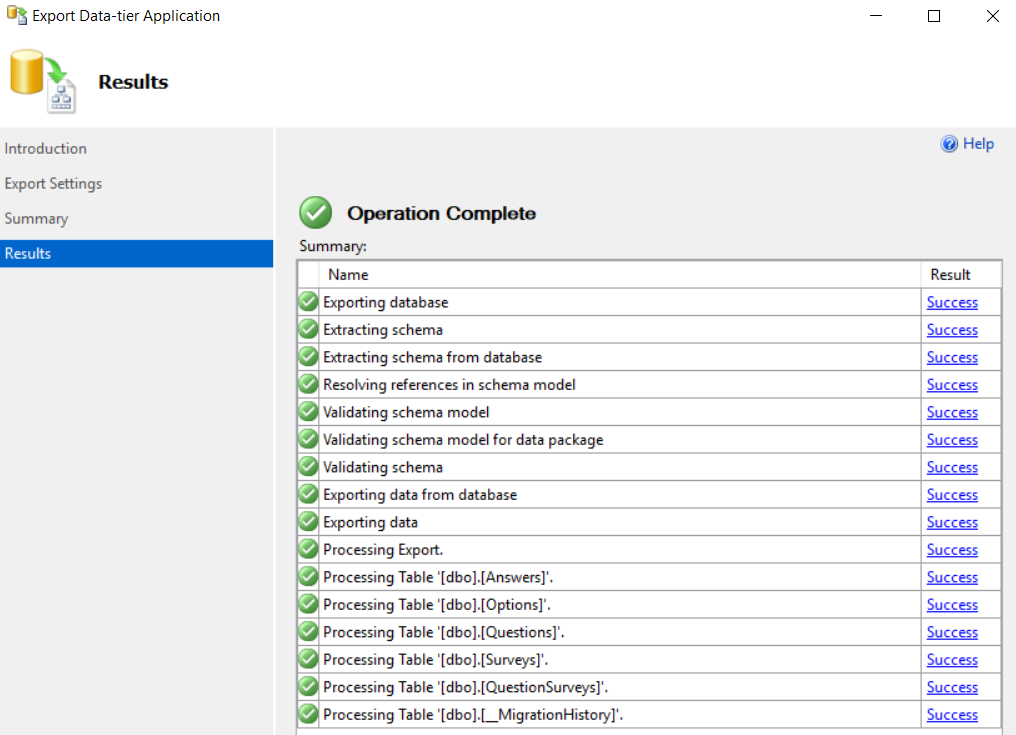
Finally, we will have a file with .bacpac extension.
Import/Restore database
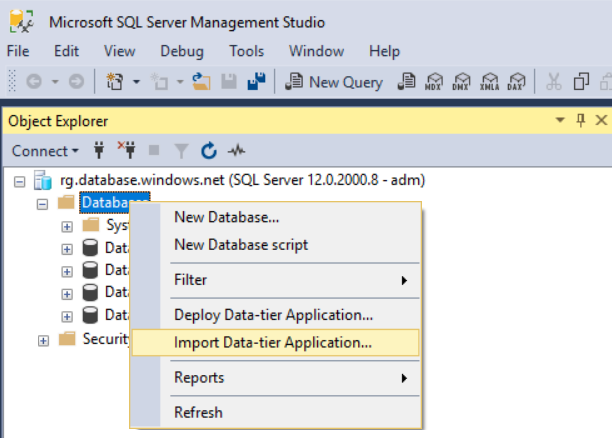
The process is almost the same but now we select Import Data-tier Application:
Continue selecting the file with .bacpac extension we exported before:
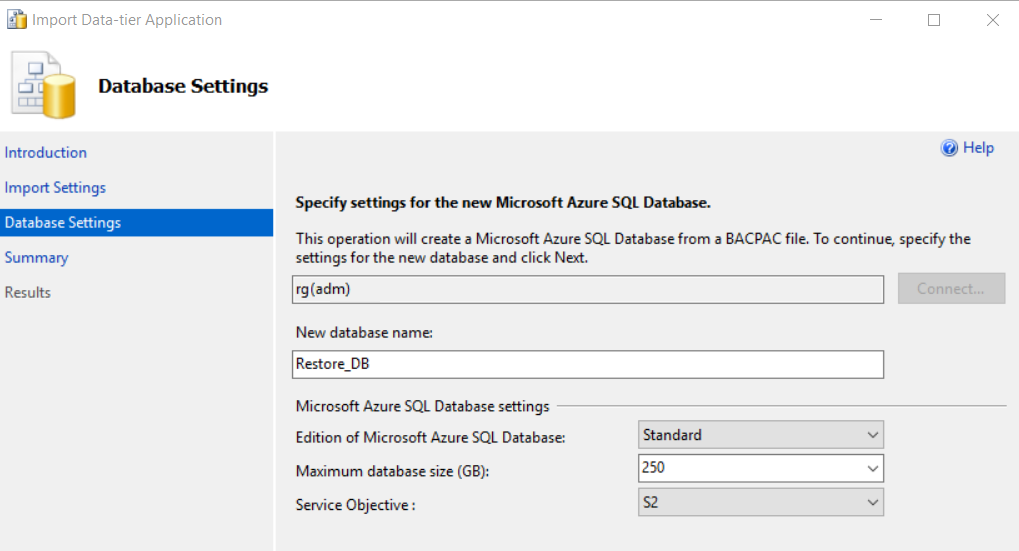
 Then, with Database settings, here you can choose different options as you can do on the Azure portal:
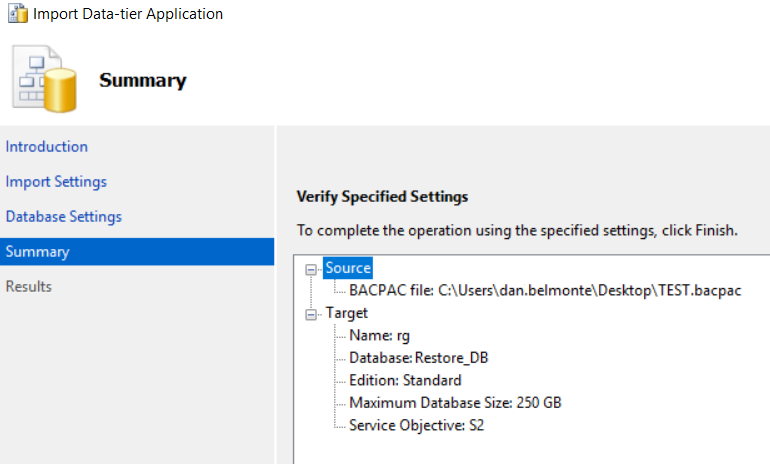
Summary of the imported database:
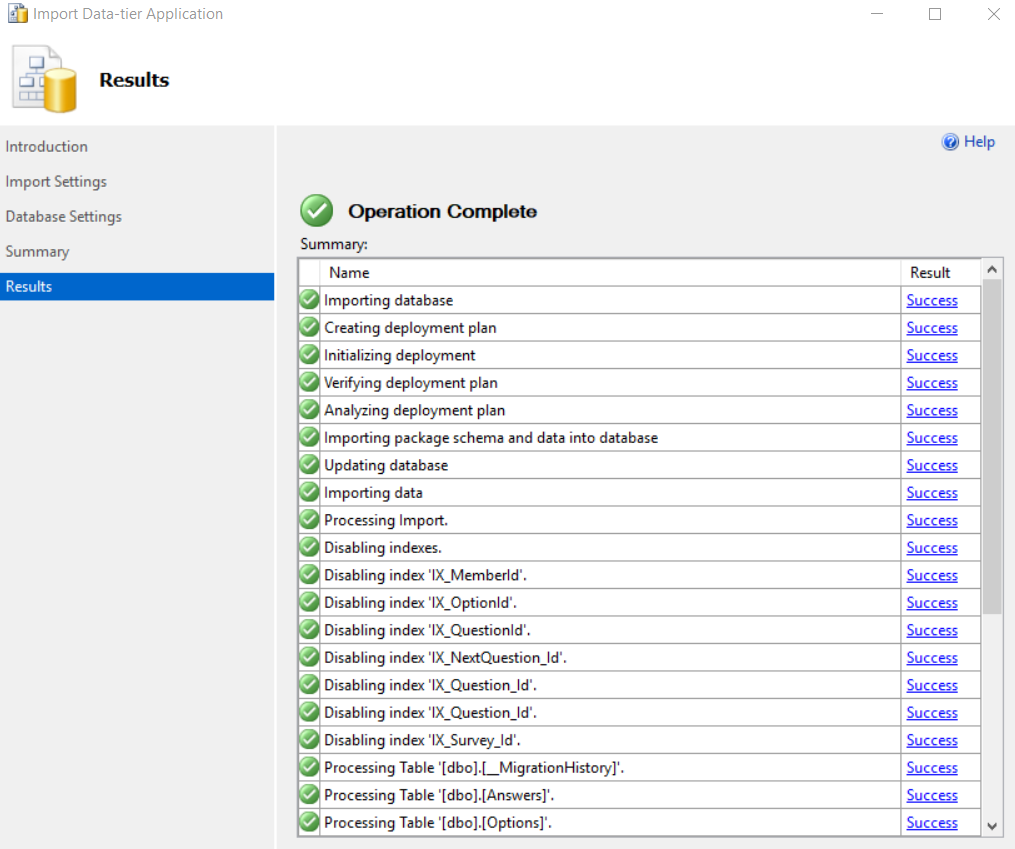
 Finally, it was imported successfully (it took a while for a 10 MB DB):
In consequence of the restore, it will appear the restored database (Restore_DB) in SSMS:

Therefore, I posted a quick way to export and import a SQL database by using SSMS. You could use it as a backup (please, not in local) or for example, to overwrite changes from UAT to PROD.